
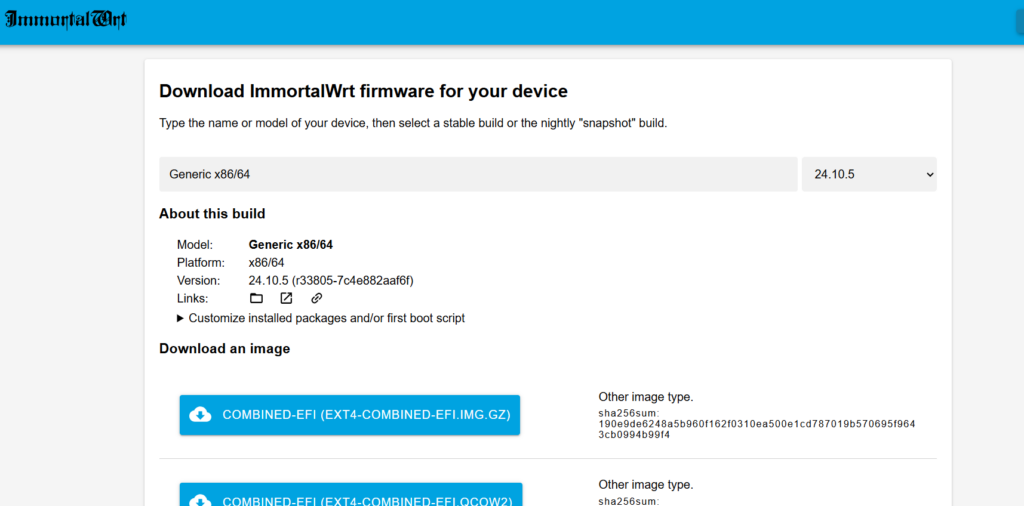
- Firstly, we need to download the image file on following link, depend what version you need to use.
ImmortalWRT: More customorized.
OpenWRT: Officinal image
https://firmware-selector.immortalwrt.org/
https://firmware-selector.openwrt.org/
Searched "Generic" then choose the version that compatiable with your device.
- Using starwindconverter to converted the files to vmdk. Refer to https://www.digifuture.top/how-to-install-synology-on-vmware-esxi/
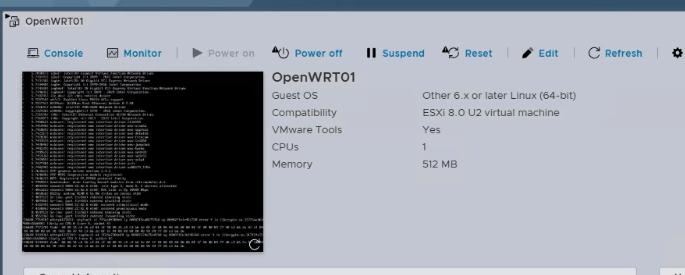
- Then deply the OpenWRT to VMware ESXI. Choose Other 6.x or later Linux (64-bit), Boot type EFI.
The RAM is 512 MB is enough.
- Then extend the /root/ size according following doc, as even you have extenrd the volume disk to 5 GB, but the size still is about 800 MB.
Refer to: https://openwrt.org/docs/guide-user/advanced/expand_root
Automated Pre 25.12
# Install packagesopkg update
opkg install parted losetup resize2fs blkid
# Download expand-root.sh
wget -U "" -O expand-root.sh "https://openwrt.org/_export/code/docs/guide-user/advanced/expand_root?codeblock=0"
# Source the script (creates /etc/uci-defaults/70-rootpt-resize and /etc/uci-defaults/80-rootpt-resize, and adds them to /etc/sysupgrade.conf so they will be re-run after a sysupgrade)
. ./expand-root.sh
# Resize root partition and filesystem (will resize partiton, reboot resize filesystem, and reboot again)
sh /etc/uci-defaults/70-rootpt-resize
Automated Post 25.12
# Install packages
apk update
apk add parted losetup resize2fs blkid

# Download expand-root.sh
wget -U "" -O expand-root.sh "https://openwrt.org/_export/code/docs/guide-user/advanced/expand_root?codeblock=0"

# Source the script (creates /etc/uci-defaults/70-rootpt-resize and /etc/uci-defaults/80-rootpt-resize, and adds them to /etc/sysupgrade.conf so they will be re-run after a sysupgrade)
. ./expand-root.sh

# Resize root partition and filesystem (will resize partiton, reboot resize filesystem, and reboot again)
sh /etc/uci-defaults/70-rootpt-resize
Re-running Script
If the root partition has already been expanded and the expand-root.sh script has previously run, attempting to run it again will not work by default. To perform an additional root expansion, you need remove previous script flags:
rm /etc/rootpt-resize
rm /etc/rootfs-resize
Open the /etc/sysupgrade.conf file and remove the following lines:
/etc/uci-defaults/70-rootpt-resize
/etc/uci-defaults/80-rootfs-resize
This ensures that the system no longer considers the scripts as already executed and then you can re-run script.
- Enabled https for ImmortalWRT
Step 1: Install necessary software packages
root@ImmortalWrt:~# opkg update
root@ImmortalWrt:~# opkg install luci-ssl-openssl
Step 2: Generate Certificate
#生成私钥和自签名证书(有效期 10 年)

openssl req -x509 -nodes -days 3650 -newkey rsa:2048 \
-keyout /etc/uhttpd.key -out /etc/uhttpd.crt \
-subj "/C=CN/ST=Default/L=Default/O=OpenWrt/CN=OpenWrt"
Modify uHTTPd configuration file
config uhttpd 'main'
	list listen_http '0.0.0.0:80'
	list listen_http '[::]:80'
        list listen_https '0.0.0.0:443'
        list listen_https '[::]:443'
	option redirect_https '1'
	option home '/www'
	option rfc1918_filter '1'
	option max_requests '50'
	option max_connections '100'
	option cert '/etc/uhttpd.crt'
	option key '/etc/uhttpd.key'
	option cgi_prefix '/cgi-bin'
	list lua_prefix '/cgi-bin/luci=/usr/lib/lua/luci/sgi/uhttpd.lua'
	option script_timeout '60'
	option network_timeout '30'
	option http_keepalive '20'
	option tcp_keepalive '1'
	option ubus_prefix '/ubus'

config cert 'defaults'
	option days '397'
	option key_type 'ec'
	option bits '256'
	option ec_curve 'P-256'
	option country 'ZZ'
	option state 'Somewhere'
	option location 'Unknown'
	option commonname 'ImmortalWrt'
Then using https://192.168.2.1 (You WRT IP address) to access
- Install Passwll service
root@ImmortalWrt:~# opkg update
root@ImmortalWrt:~# opkg install luci-app-passwall luci-i18n-passwall-zh-cn
After installed completed, you can check the Passwall service in Service menu.

- Install components to monitor the traffic usage for ImmortalWRT.
root@ImmortalWrt:~# opkg update
root@ImmortalWrt:~# opkg list | grep vnstat
opkg install vnstat2 luci-i18n-vnstat2-zh-cn
root@ImmortalWrt:~# /etc/init.d/vnstat enable
root@ImmortalWrt:~# /etc/init.d/vnstat start
Config the monitoring port “br-lan”
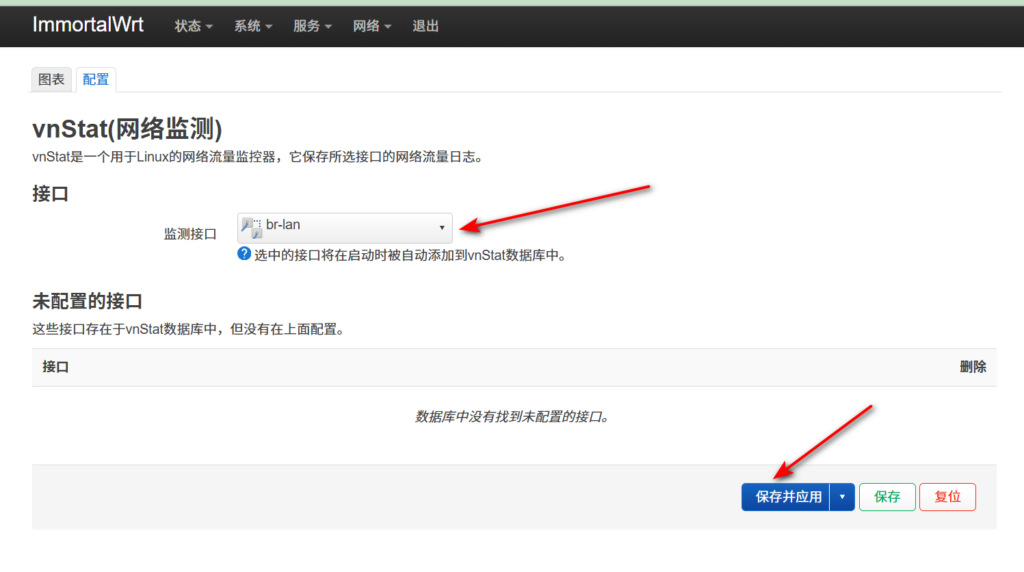
If there is any traffic data, it will show here.
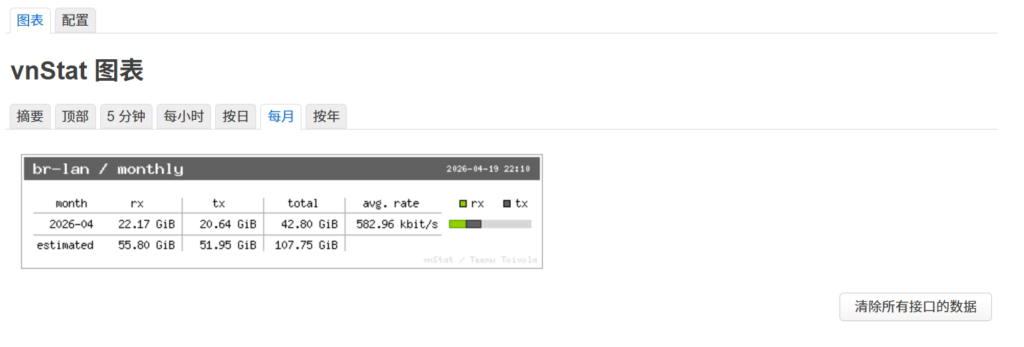
RX (Receive): 接收流量

含义:指从外部进入该接口(如 br-lan)的数据。

对应你的场景:通常代表下载。比如你在手机上刷视频、下软件,路由器接收并转发给你的数据量。

TX (Transmit): 发送流量

含义:指从该接口发出去的数据。

对应你的场景:通常代表上传。比如你把照片发到朋友圈、同步云盘或视频通话时发送的数据量。

简单理解:

TX = 出去的数据(Upload)

RX = 进来的数据(Download)